
To ensure the distribution of your songs in the best possible conditions, your files must have certain characteristics. In this tutorial, we will show you how to prepare your files.
A.INTRODUCTION
Radio Equinoxe broadcasts its stream in three formats:
– AAC 64kps
– MP3 128 kps
– MP3 192 kps
The space we have at our host being limited, your files must therefore be encoded in MP3 with an maximum throughput of 192 kps. Using a higher bitrate would not be helpful and would create larger files.
The information displayed on the readers is that of the ID3 tags of your files. They are essential and serve not only to inform listeners about what they are listening to, but also to establish statistics and a history of broadcasts.
The following tutorial will show you a method to convert your files into the correct format, with the appropriate tags.
B. CONVERSION TO MP3 FORMAT
To convert the files, we will use the free Format Factory software.
- FACTORY FORMAT INSTALLATION
- Download the latest version of Format Factory from the Official website.
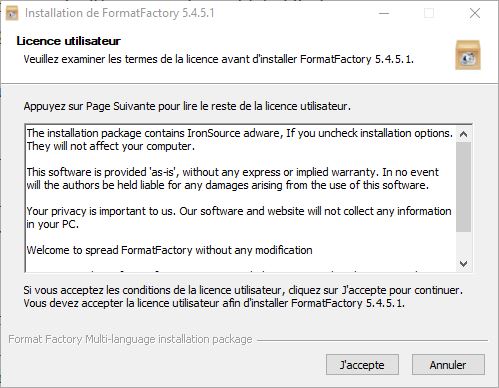
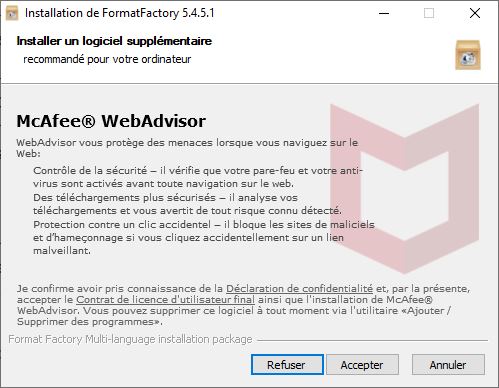
- Install Format Factory: Run the file you just downloaded and follow the instructions. Remember to refuse the installation of optional software by clicking on “Refuse” when they are offered to you.


- Run Format Factory
We will now create a “Profile” to convert your files to the correct format. This step is optional but will save you time if you have several files to send.
2. CREATING A PROFILE IN FACTORY FORMAT
- In the left column, click on the “Audio” tab, then on “->MP3”
- In the window that opens, click on “Output settings”
- Set the parameters as follows: “Sampling rate: 44100, Bit rate: 192, Audio channel: 2 stereo”
- Click on “Save as”
- Choose a name for your profile (for example, “Radio Equinoxe”) then click OK. Confirm the save by clicking OK.
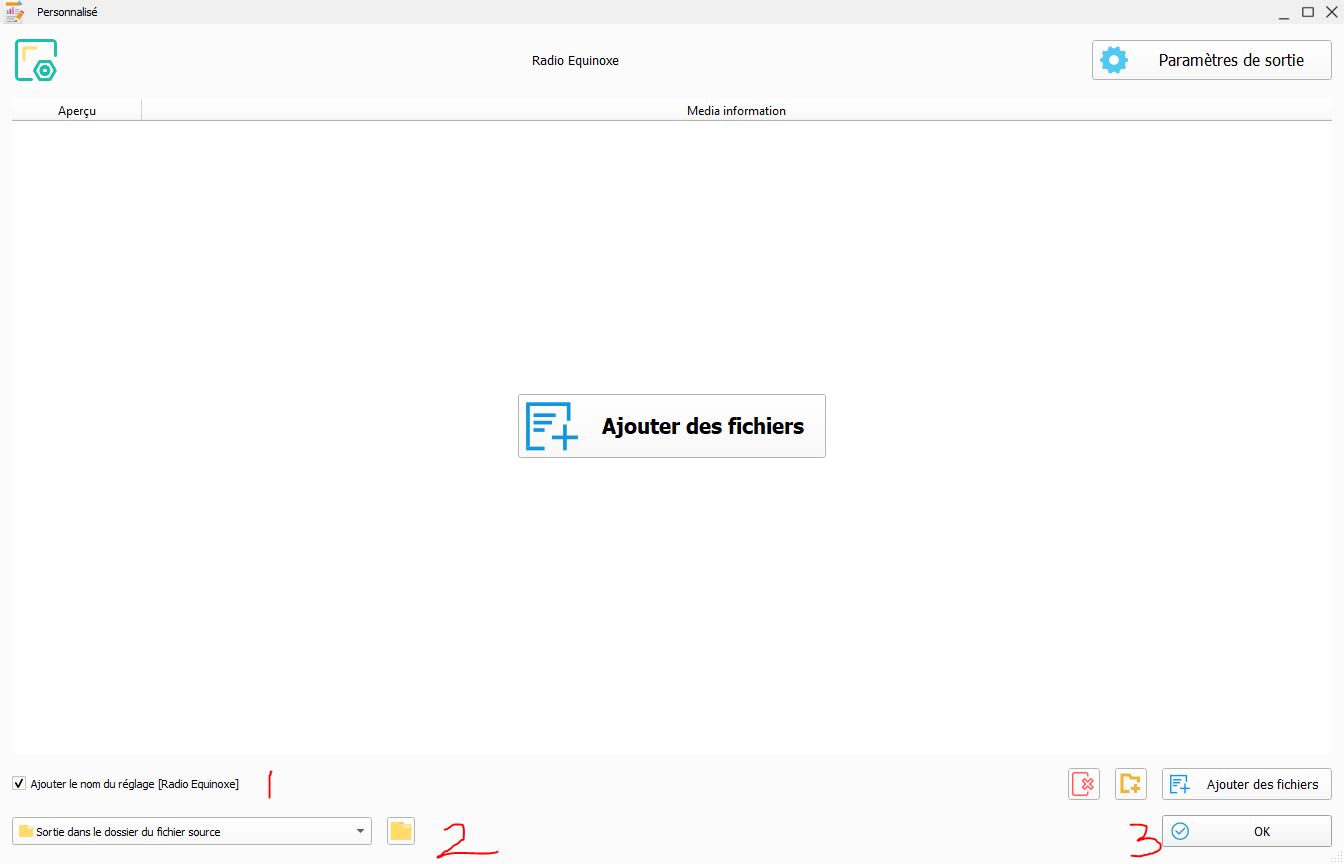
- Your new profile now appears in the list, click on it, check “Add setting name”, select the output folder (we advise you to use the source folder). Validate with “OK”. You can close Format Factory.
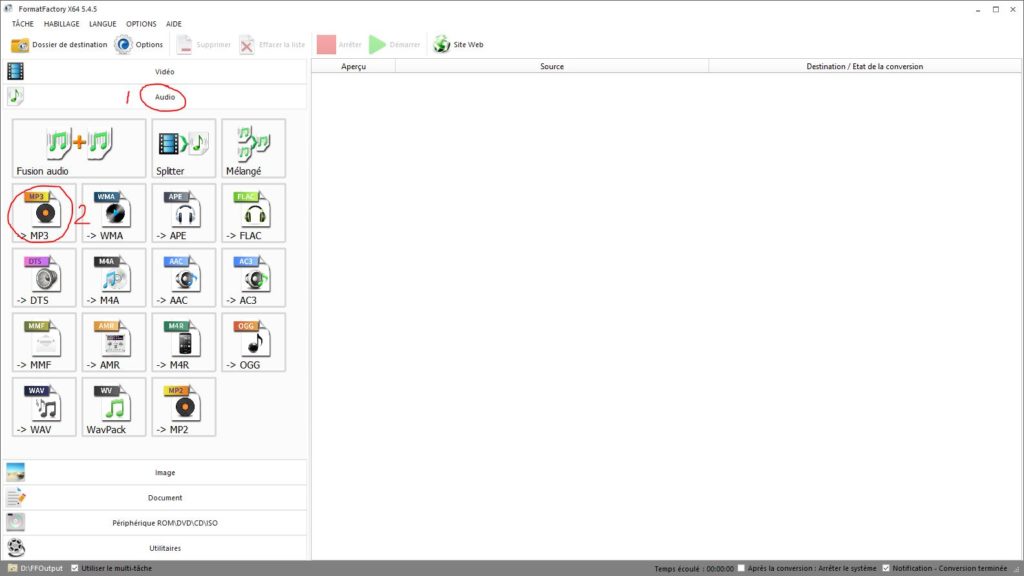
In the left column, click on the “Audio” tab, then on “->MP3” 
In the window that opens, click on “Output settings” 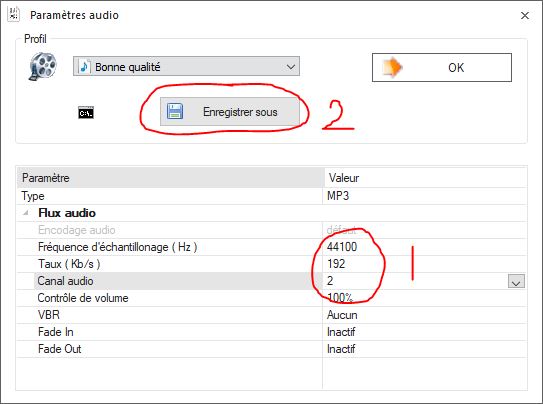
Set the parameters as follows: “Sampling rate: 44100, Bit rate: 192, Audio channel: 2 stereo”
Click on “Save as”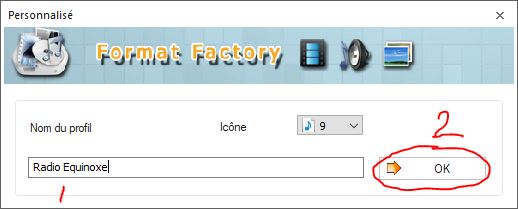
Choose a name for your profile (for example, “Radio Equinoxe”) then click OK 
Confirm the save by clicking OK. 
Your new profile now appears in the list, click on it 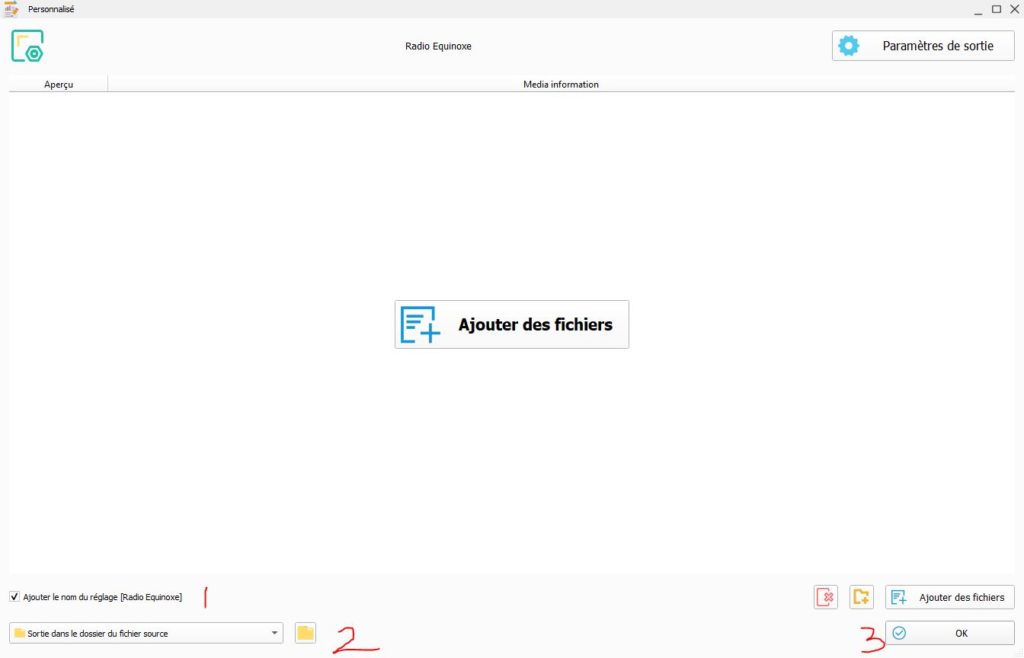
Check “Add setting name”, select the output folder (we advise you to use the source folder). Validate with “OK”. You can close Format Factory.
3. CONVERSION OF FILES
- In Windows Explorer, select the file(s) to convert, then right-click and select “Format Factory > Format Factory”
- In the window that opens, check that the personalized profile is selected. You can also, if you wish, change the destination folder. Then click on “OK -> Start”
- The conversion of your files starts. As soon as it is finished, your converted files will be in your chosen destination folder, with [Setting Name] at the end.
To learn more
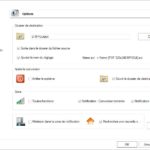
- We advise you to set the Format Factory options as in this image.
C. INSERTING ID3 TAGS
- INSTALLING MP3Tag
- Download the latest version of MP3Tag from the Official website
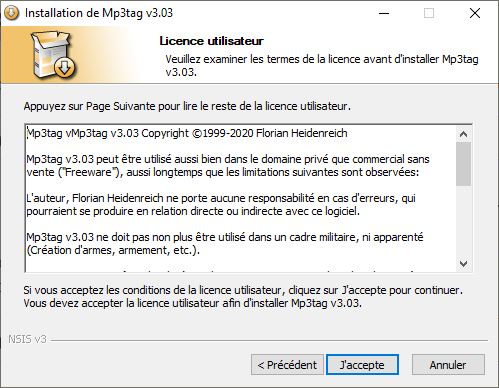
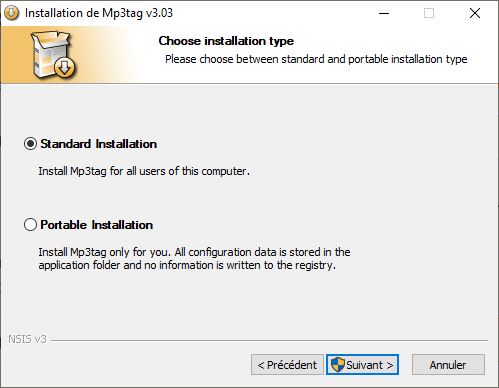
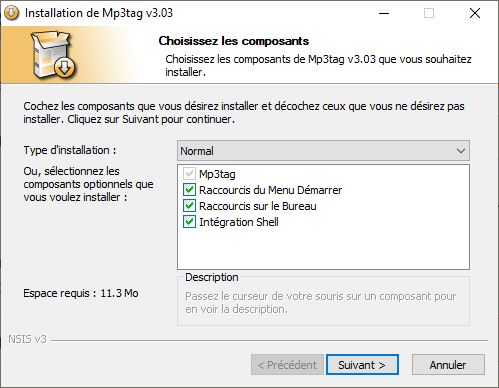
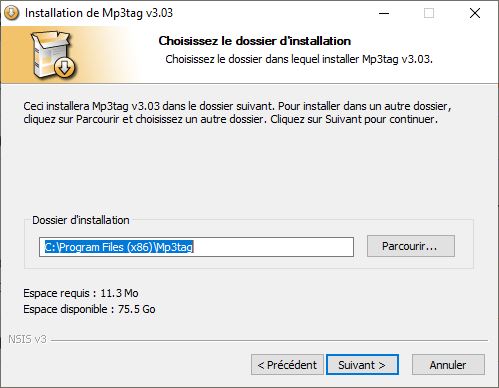
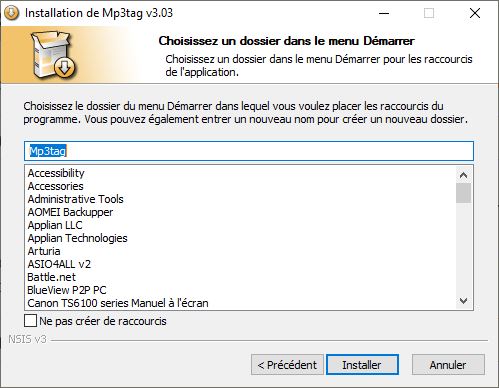
- Install MP3Tag: Run the file you just downloaded and follow the instructions.

2. INSERTING TAGS
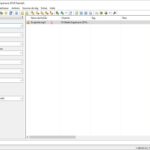
- In Windows Explorer, select the file(s) to identify, right-click then select “MP3 Tag”.
- The MP3 Tag software opens. In the right part, select the file to identify (1).
- In the left part, complete the “Title” (2) and “Interpreter” (3) fields. You can also, if you wish, complete the other fields.
- Add the cover. To do this, right-click on the “Cover” area (4) then click on “Add cover”. Select your image and validate.
- Optional: If your cover is large, optimize it: Right-click on the cover (4) then click on “Adjust cover”. This will prevent your cover from weighing more than your piece.
- Save by clicking on the floppy disk symbol (5).
YOUR FILES ARE READY TO SEND.
If you followed the instructions above, they will quickly join the radio lineup…